Using XMPP - Psi+
Installing Psi+
Here I will show the method I have used for installing Psi+ on Slackware-based distros. For other ones, you can use the AppImage; and for Windows, the installers. These probably work, but are untested by me (Edit: the linked AppImage works, and has all the icons and plugins installed by default, but ignores qt5ct). Also, the AppImage has a broken version of Client Switcher; you could install an older AppImage, perhaps. But I will teach you a method in which everything works properly. You need Slackware 15 for this to work, as Psi+ versions 1.5+ require openssl 1.1.x - installing which would break older Slackware versions; they might also need newer binutils and / or glibc. You need to compile this with cmake 3.21.4; newer versions (eg. 4+) result in a buggy OMEMO which you have to turn off for every interlocutor's message if it doesn't work, since it will automatically turn itself back on. And you need to recompile plugins with the same cmake if they were done earlier with any other! Maybe some other combinations are viable but this works for sure. Anyway let's begin:
First, download the Psi+ source code from here by clicking on the tar.gz
link. 1.5.1642 is the version I've used for the installation, though there are newer ones available now. You can also do it by typing wget https://github.com/psi-plus/psi-plus-snapshots/archive/1.5.1642/psi-plus-snapshots-1.5.1642.tar.gz
into the terminal, where 1.5.1642
is the version. If using the wget command, you have to replace both instances of the version with the one you want to install, e.g https://github.com/psi-plus/psi-plus-snapshots/archive/1.5.9999/psi-plus-snapshots-1.5.9999.tar.gz
if the version you want to install is 9999. Note the folder that you have downloaded the source to; we will assume it is /home/username/Downloads for the purposes of this guide.
Now edit (sudo needed) the /etc/slapt-get/slapt-srcrc file and ensure that the line SOURCE=https://www.slackbuilds.org/slackbuilds/15.0/
is in there; if it's not - add it. Run the terminal command sudo slapt-src --update
to recognize the newly added repository. Now download the Psi+ SlackBuild with sudo slapt-src --fetch psi-plus:1.5.1600
. We are specifying the version because otherwise, an old script from different repos might be pulled, which is incompatible with new versions of Psi+. The SlackBuild will be downloaded to /usr/src/slapt-src/network/psi-plus. Move your Psi+ source code there with the command sudo mv /home/username/Downloads/psi-plus-snapshots-1.5.1642.tar.gz /usr/src/slapt-src/network/psi-plus
(replace the version if you downloaded a newer one earlier, e.g 1644 instead of 1642).
Now we will move to the slapt-src folder to perform operations there. So type cd /usr/src/slapt-src/network/psi-plus
in the terminal. Edit the SlackBuild script to change the version that will be installed, since originally, it tries to install 1.5.1600 - and we're using a newer one. Type sudo leafpad psi-plus.SlackBuild
(leafpad can be replaced with whatever text editor you are familiar with). Replace the line VERSION=${VERSION:-1.5.1600}
with VERSION=${VERSION:-1.5.1642}
(or 1644 or whichever other version of the source you have downloaded in the previous step). Type sudo sh psi-plus.SlackBuild
to begin the compilation; it might take hours. After it's finished, the terminal will spit out something like Slackware package /usr/src/slapt-src/network/psi-plus/psi-plus-1.5.1642-x86_64-1_SBo.tgz created.
. Type sudo installpkg /usr/src/slapt-src/network/psi-plus/psi-plus-1.5.1642-x86_64-1_SBo.tgz
to install it. Oh, and remember to back it up so that you don't have to repeat the process later. E.g sudo cp /usr/src/slapt-src/network/psi-plus/psi-plus-1.5.1642-x86_64-1_SBo.tgz /home/username/Packages
(directory needs to exist).
And there we go, Psi+ has been installed. You can move on to the relevant section now to learn how to use it. You might be wondering, why not just use the command sudo slapt-src --install psi-plus
and skip all the fluff? Because when I tried it, it didn't work at all - the compilation broke in the middle for reasons I couldn't debug. This method works perfectly, and you can install whichever version you want with it. And it's better to know how to do stuff more manually, anyway. Plugins are not installed this way - we have to do that separately which I will show how to right now:
Installing plugins
Because the SlackBuild does not do that by default, we have to do it manually again. Slapt-src extracts all compiled sources to /tmp/_SBo/, but since Psi+ itself was already compiled, we're only interested in the sources for plugins (which are also contained in the Psi+ source snapshots). Type the command cd /tmp/_SBo/psi-plus-snapshots-1.5.1642/plugins/
, which is where they are stored. Make a new directory where the actual plugins will be created (type sudo mkdir build
for example). Now type cd build
and then sudo cmake ../ -DBUILD_PLUGINS= "omemoplugin;openpgpplugin;otrplugin;clientswitcherplugin;conferenceloggerplugin" -DPLUGINS_PATH= "" -DCMAKE_INSTALL_PREFIX= ""
. -DBUILD_PLUGINS
decides which plugins will be installed; we're choosing the three encryption plugins and the one that allows you to disable data leaks, as well as the conference logger that is actually needed to store MUC logs (yes, it's not a default) - but you can add any other that exist in /tmp/_SBo/psi-plus-snapshots-1.5.1642/plugins/generic (or just delete the whole -DBUILD_PLUGINS
part, which will install them all). You can add any other plugins later though; just repeat the process with other names in the -DBUILD_PLUGINS
section (e.g skinsplugin if you want to install skins); I am not familiar with all the plugins so you will have to check what they do for yourself. The paths are defined because for some reason, cmake randomly adds stuff in there, and you want the plugins installed right into the directory which Psi+ reads from, without useless additions (remove the path definitions and you will see what I mean). Now type sudo make
then when that finishes, sudo make install DESTDIR= "/usr/share/psi-plus/plugins"
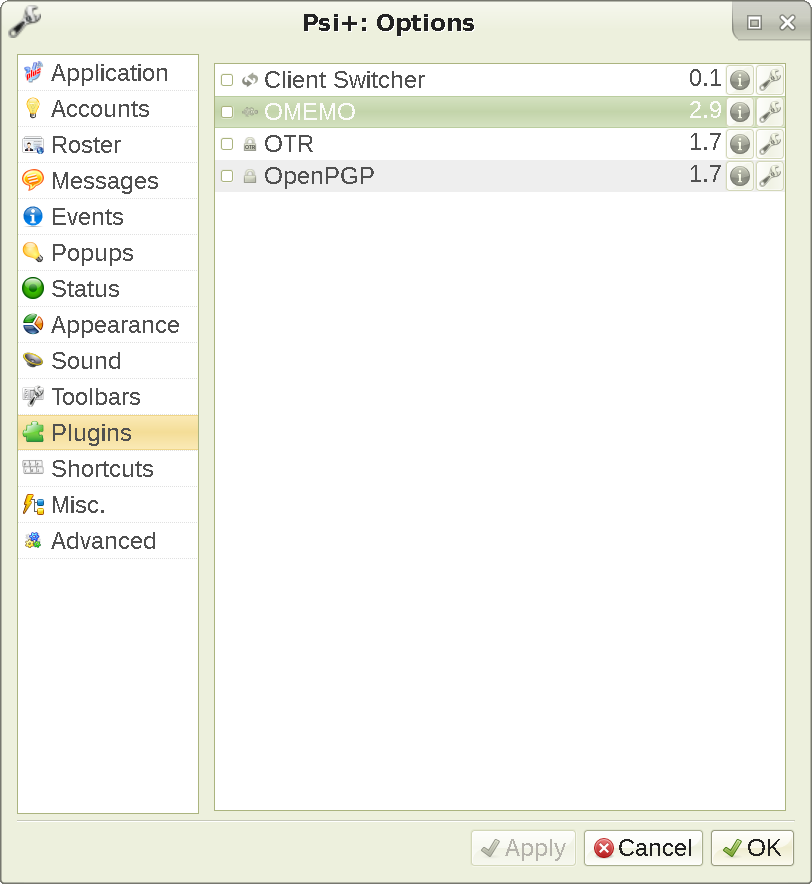
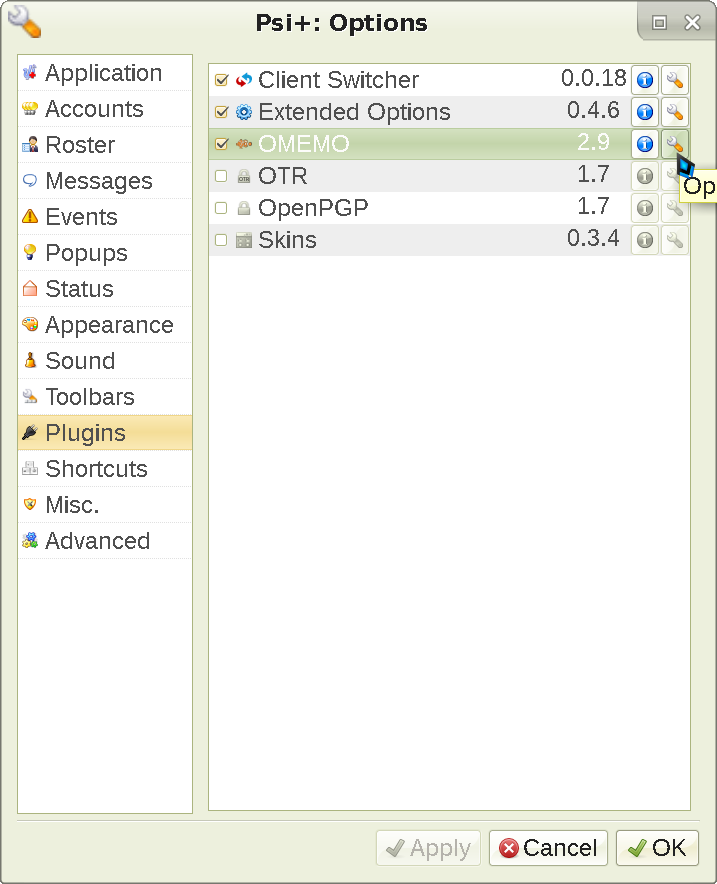
(if you hadn't defined the paths earlier, the plugins would be stuck in a folder Psi+ doesn't check, and would be unavailable for use). That's it! You should be able to see them in the Psi+ Options menu like this:
WARNING: okay fuck, it seems that the new (0.1) version of Client Switcher lacks important functionality. You will have to compile one from an older Psi+ source code (1.4.1460 works) or download the binary I've compiled (shove that into /usr/share/psi-plus/plugins). Why do devs have to destroy things that work fine? And after 7 years of absence, as well...No matter, 0.018 works perfectly.
Installing icons
The SlackBuild doesn't do that by default, either. Go to the build directory (cd /tmp/_SBo/psi-plus-snapshots-1.5.1642
, replacing the version if necessary). Then copy the iconsets directory into where Psi reads its icons from (sudo cp -R iconsets /usr/share/psi-plus/
). If you did it right, you will be able to see them in the options screen:
Installing skins
You need to have installed the skins plugin in the Plugins section for this to work. If you have done so, type cp -R /tmp/_SBo/psi-plus-snapshots-1.5.1642/skins /usr/share/psi-plus
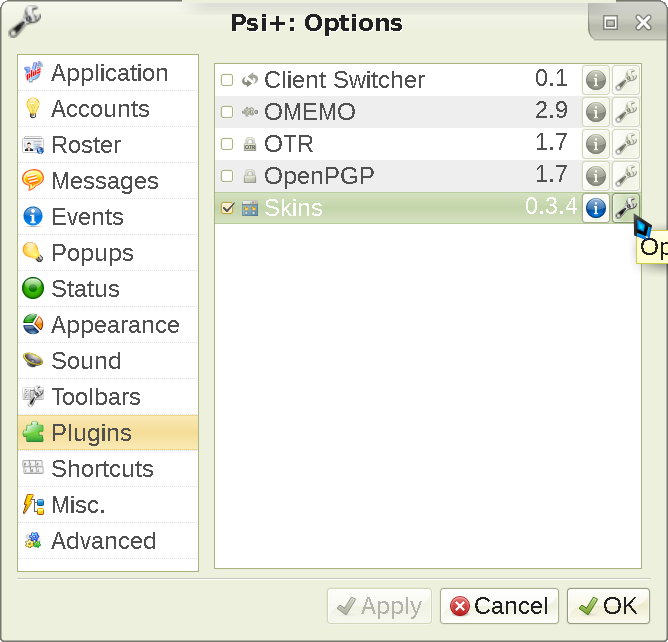
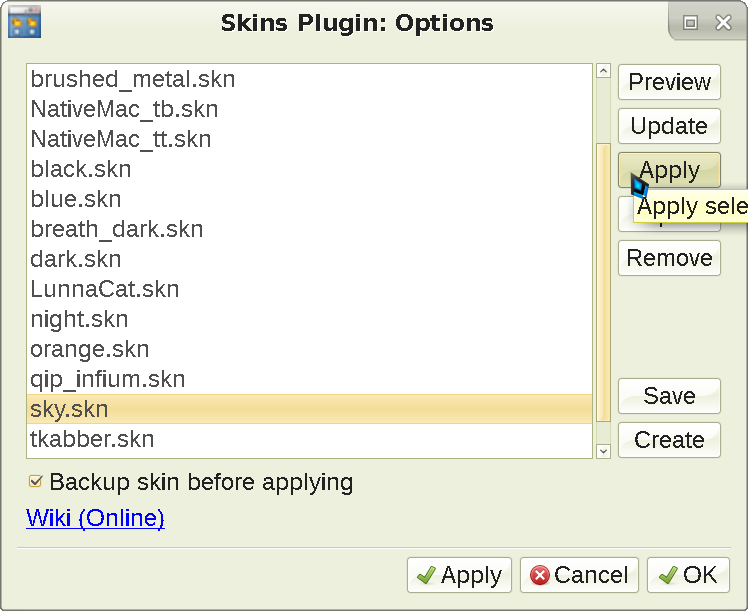
. This is the same exact process as with icons - just copying the skins from the Psi+ source folder to the one Psi+ actually reads them from. Enable the Skins plugin in the plugin window, and enter its settings like this:
Pick a skin and apply it (ensure the Backup skin before applying
option is enabled, which will allow you to restore your previous configuration later):
This is the Night skin (some can change more, like fonts etc. it seems):
Anyway, if you're done installing plugins, icons, and skins, you can burn the build folder (sudo rm -R /tmp/_SBo/psi-plus-snapshots-1.5.1642
) to not leave litter around.
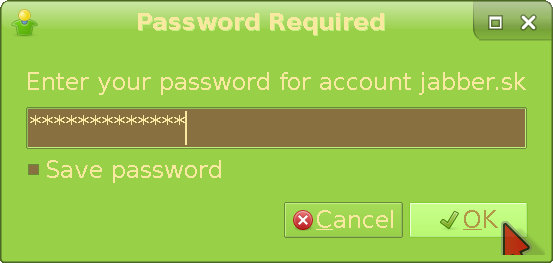
Adding an account
When you turn on Psi+, this screen will appear:
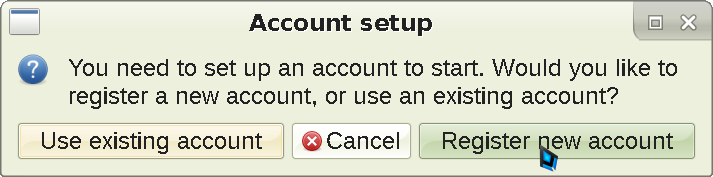
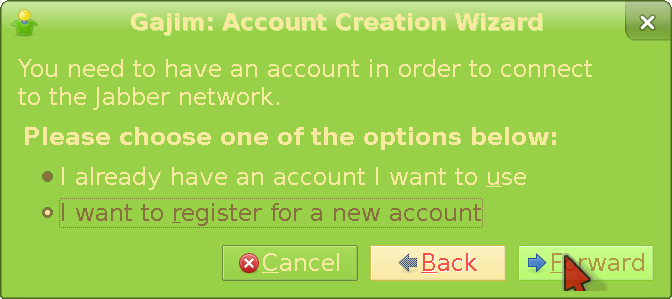
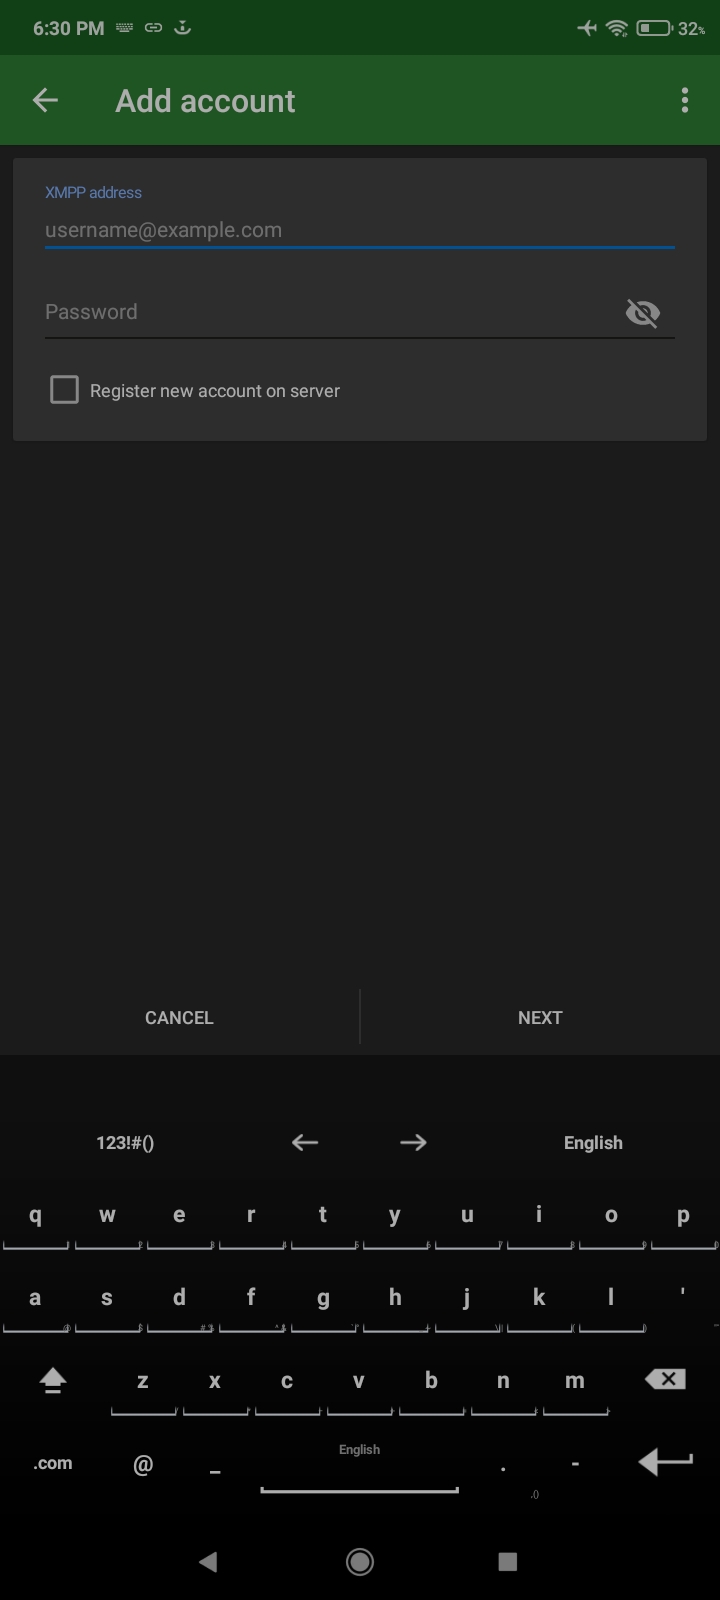
To use XMPP, you need to register an account first. Press the Register new account button as shown, and the screen will switch to this:
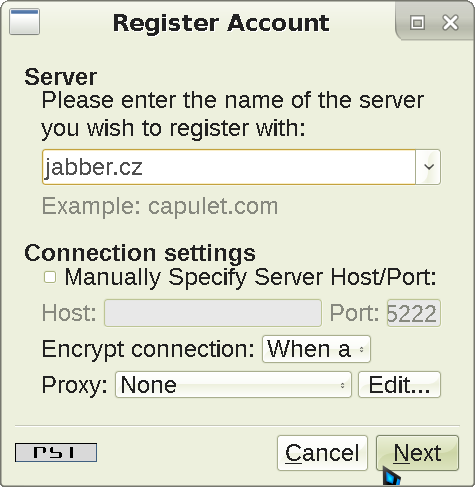
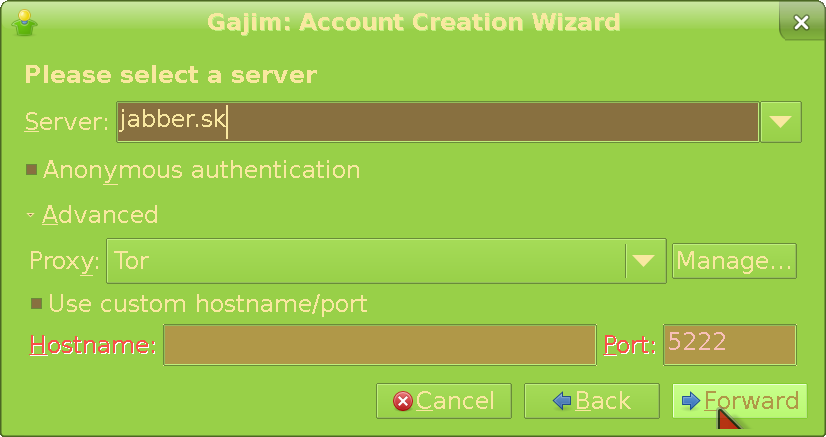
I am using jabber.cz for our server, but you can choose any other from the list. However, there is no guarantee all the functionality will be available on every server. Click Next and the screen will change again:
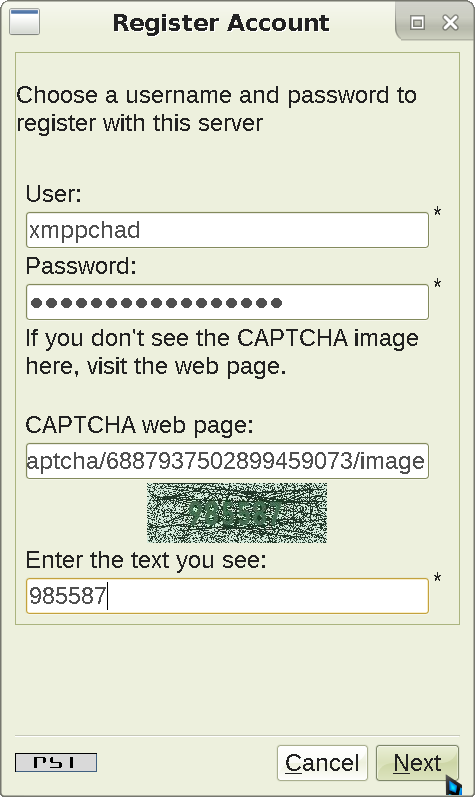
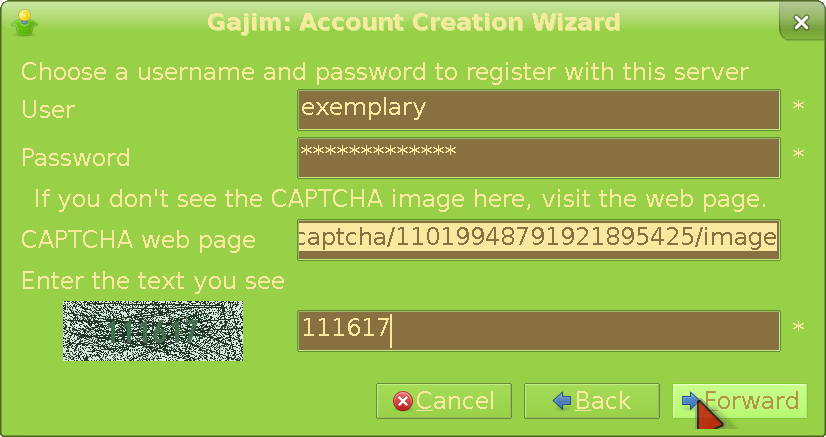
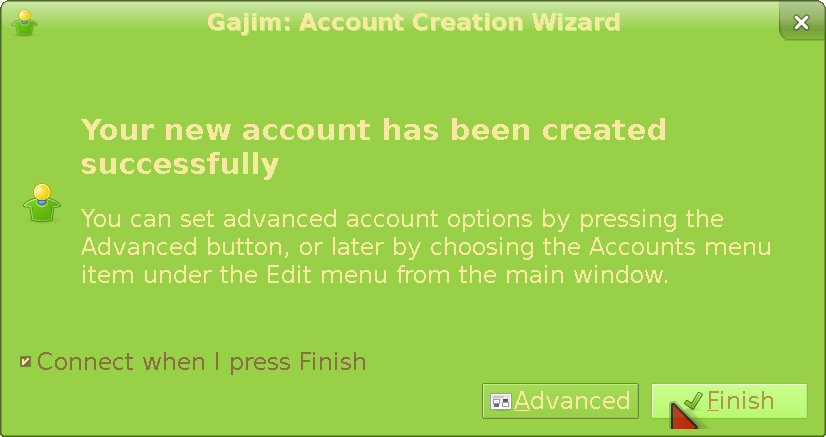
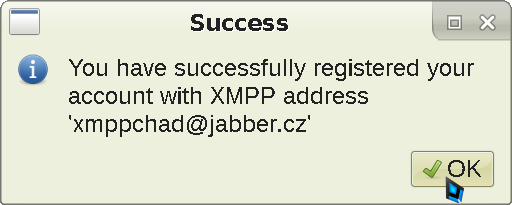
Input your desired username (this can be anything) in the relevant field, as well as a strong password (16+ characters that are not easily guessable like birth dates or your kids' names). You might be asked to solve a captcha, so type the number in the picture into the last field. Then click Next, and our registration is finalized:
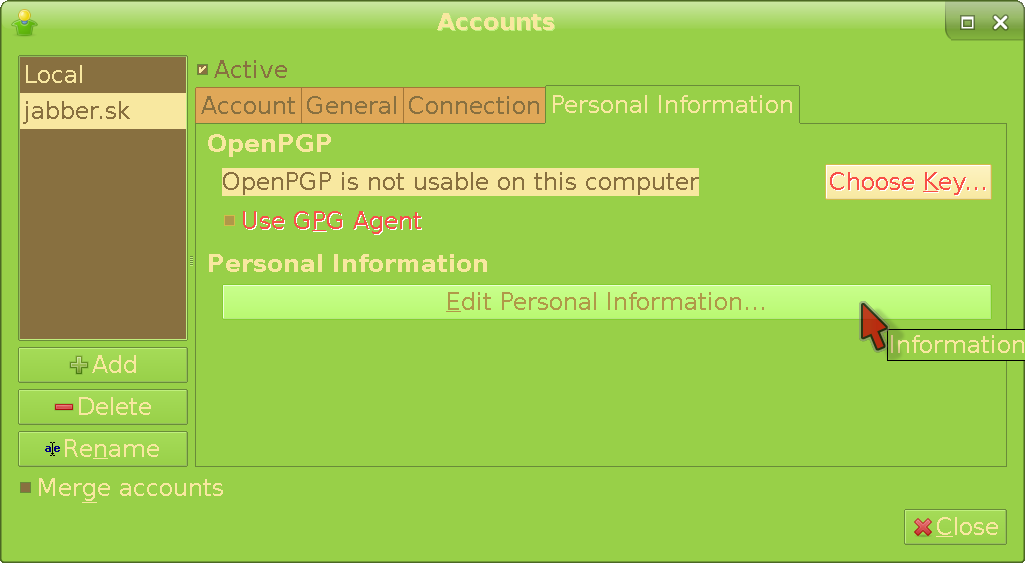
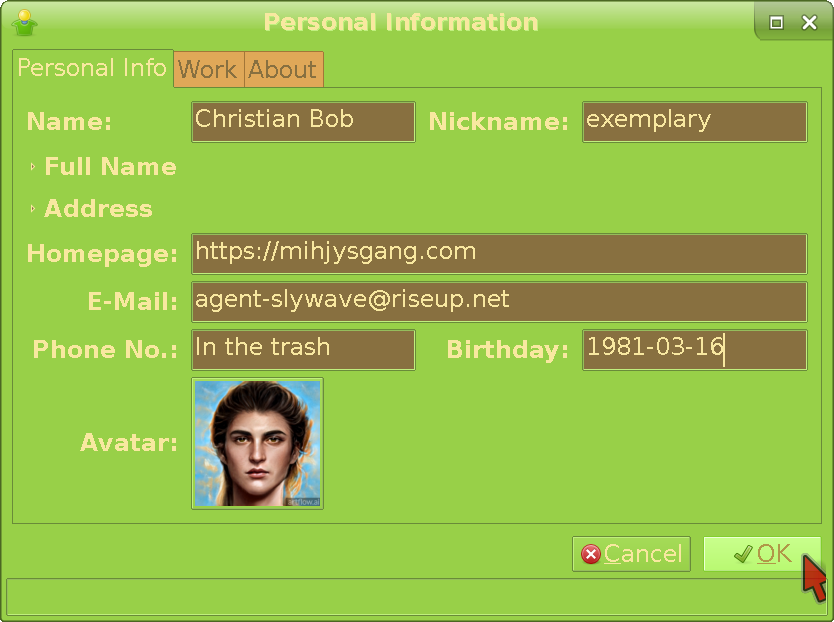
Filling personal information
You can fill the User Info, but don't have to:
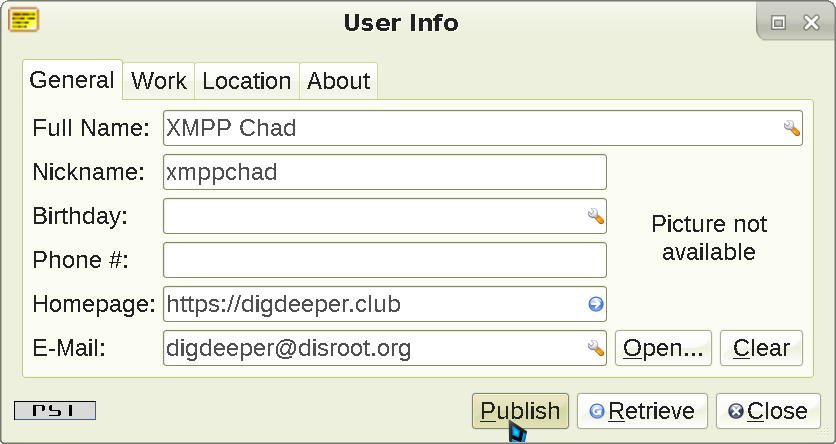
Click Publish (if you did fill it), then Close. Your server - as well as everyone who you add to your friends list or is in the same group chat - will be able to see this information, but no real data has to be submitted at any point (you can leave all the fields empty, if you want to, as well).
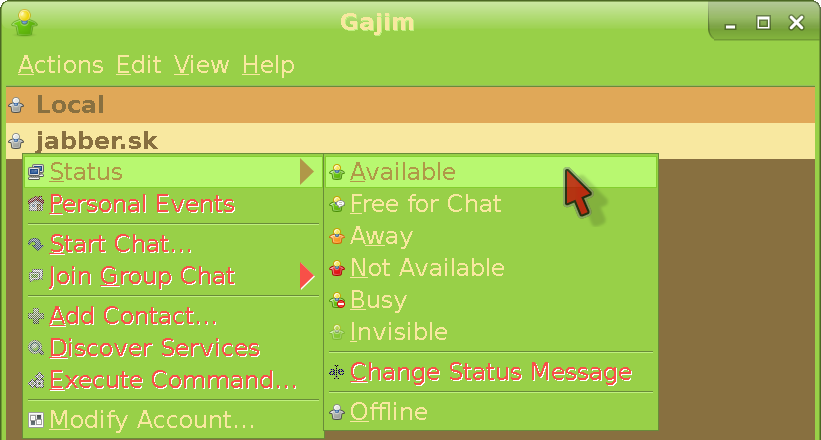
Going online
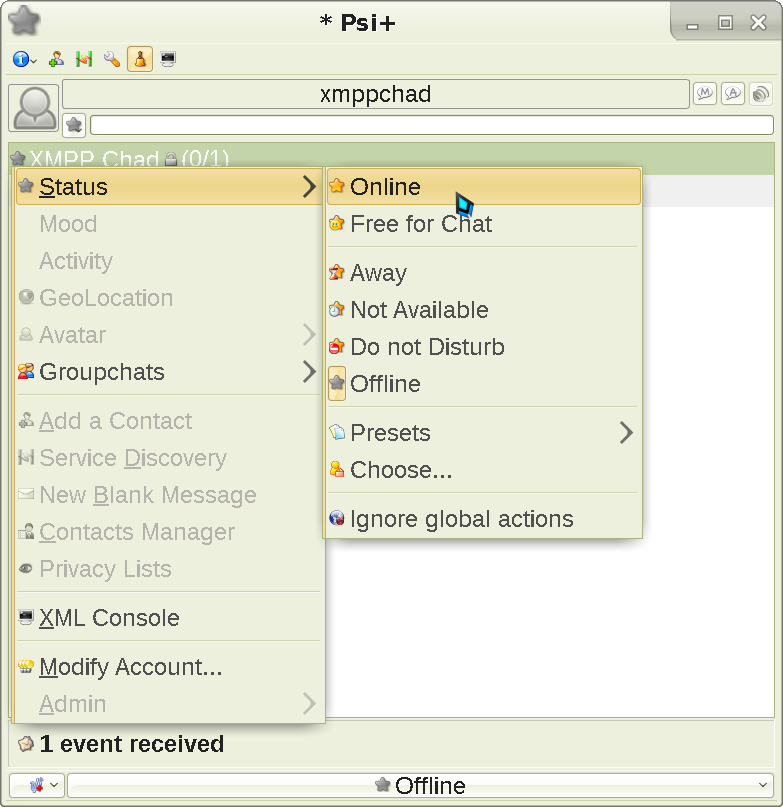
Right click your username, and change your status to Online:
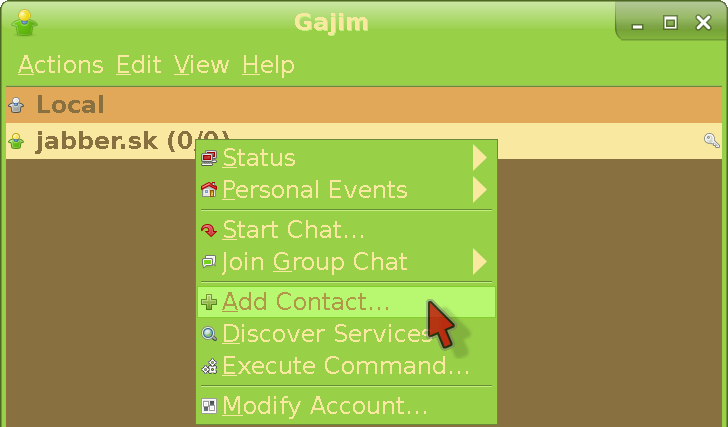
Adding a contact
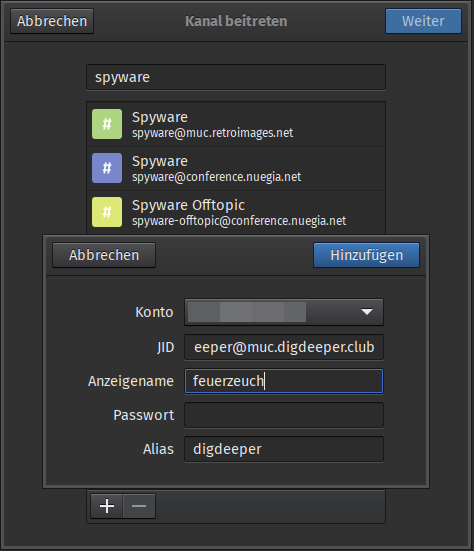
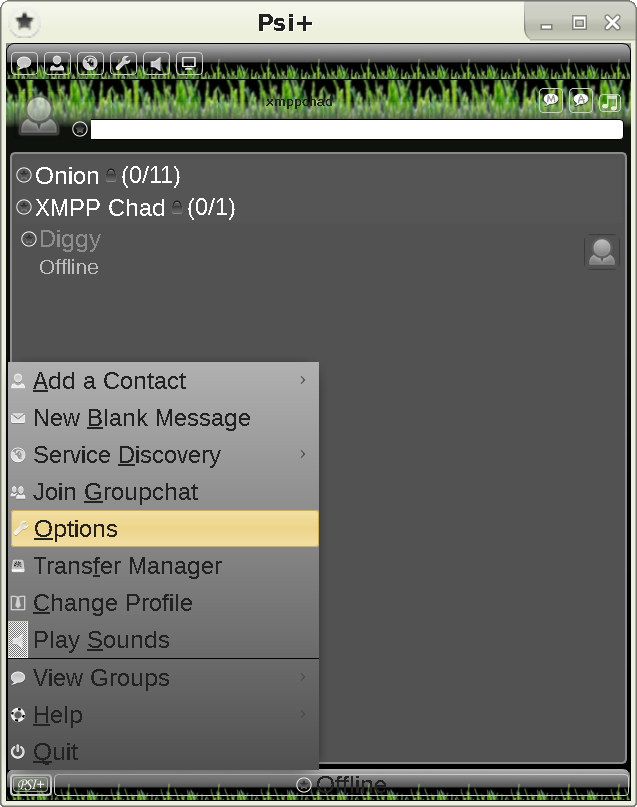
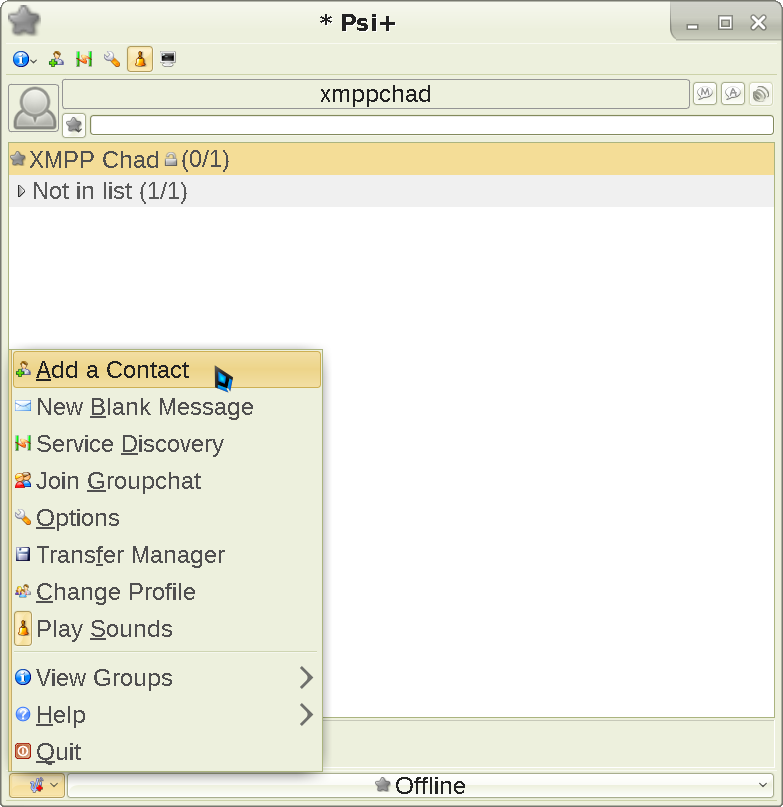
Click the Psi logo at the bottom left, and add a contact:
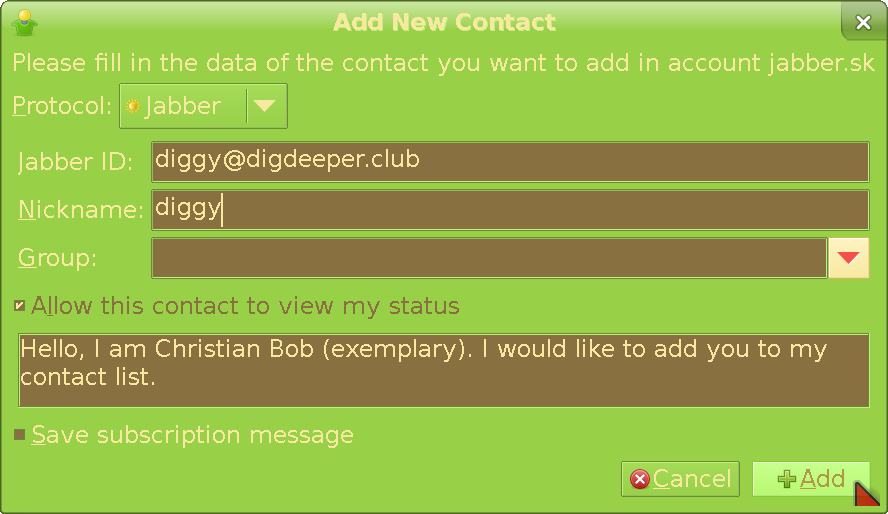
You will need the XMPP address of your friend, and whatever name you want to call them with. Here is an example filled with my details:
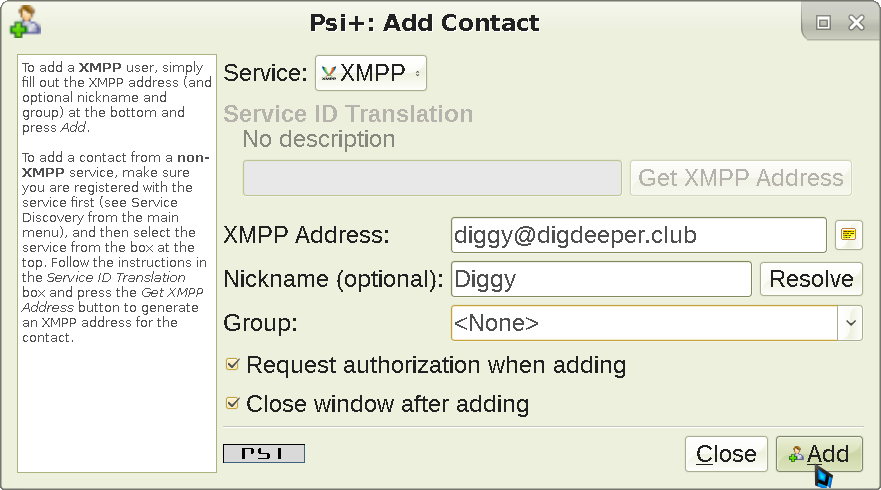
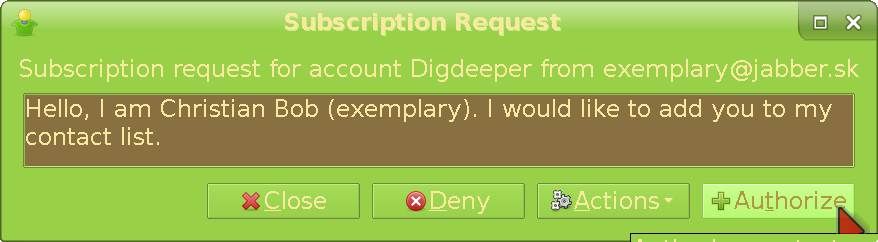
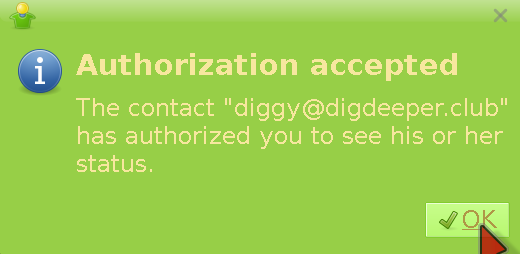
When you click Add, this will appear:
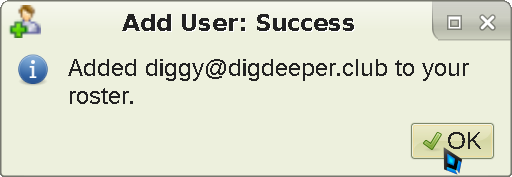
Your friend (me in this case) will get a friend request, which they will have to approve so that you will get added to their friends list. Though this isn't strictly necessary to message someone (you can do so while knowing only their address), it will allow you to see each others' status (online, away, etc) as well as set up encryption later.
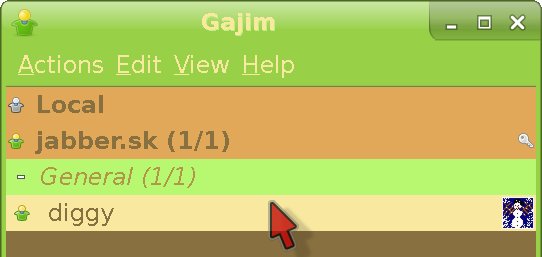
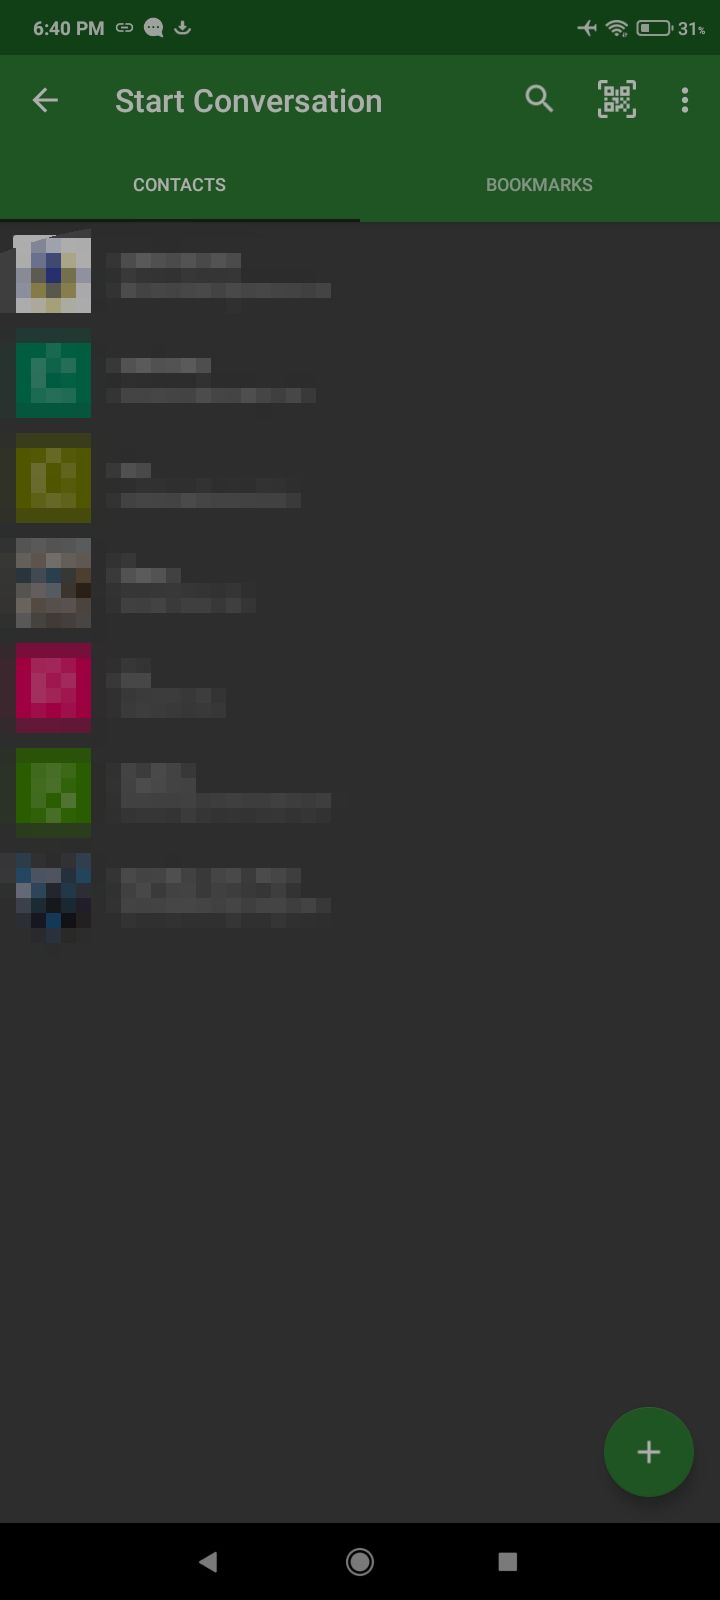
Starting a conversation
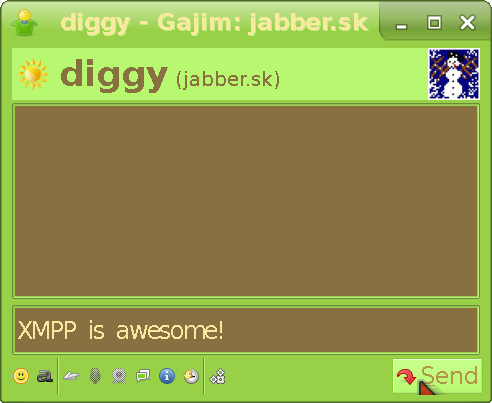
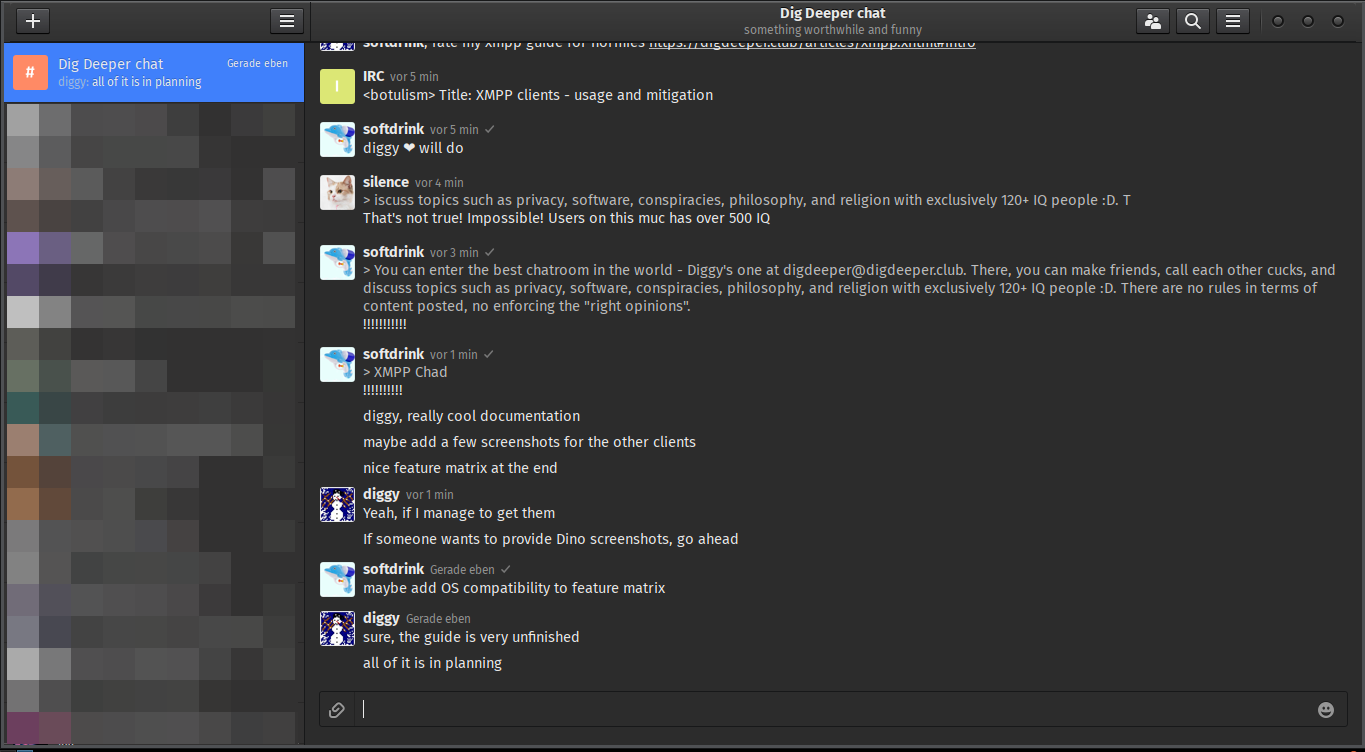
Double-click on your friend's name to bring up the talk window:
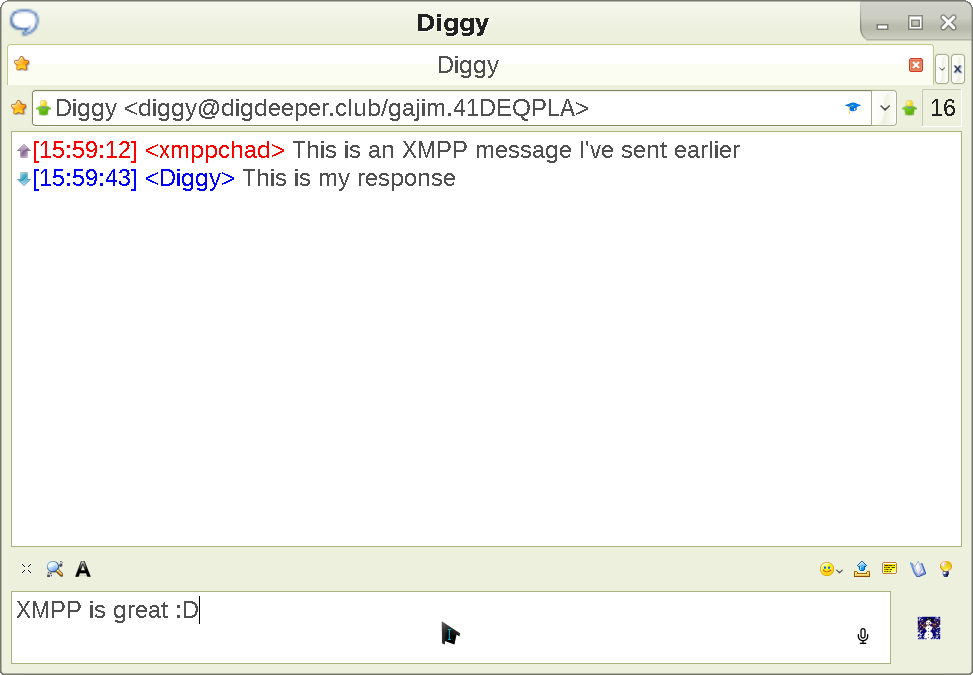
Type whatever you want in the bottom field, and press Enter to send. That's it for the basics (I told you it was easy).
Setting up OMEMO encryption
OMEMO is message-level encryption, which means no one other than the intended recipient can read your message - not even the XMPP servers you or your contact are using. To activate it, go to the Plugins menu, enable it and go to its settings like this:
The screen will change. Go to the Configuration tab and enable OMEMO by default:
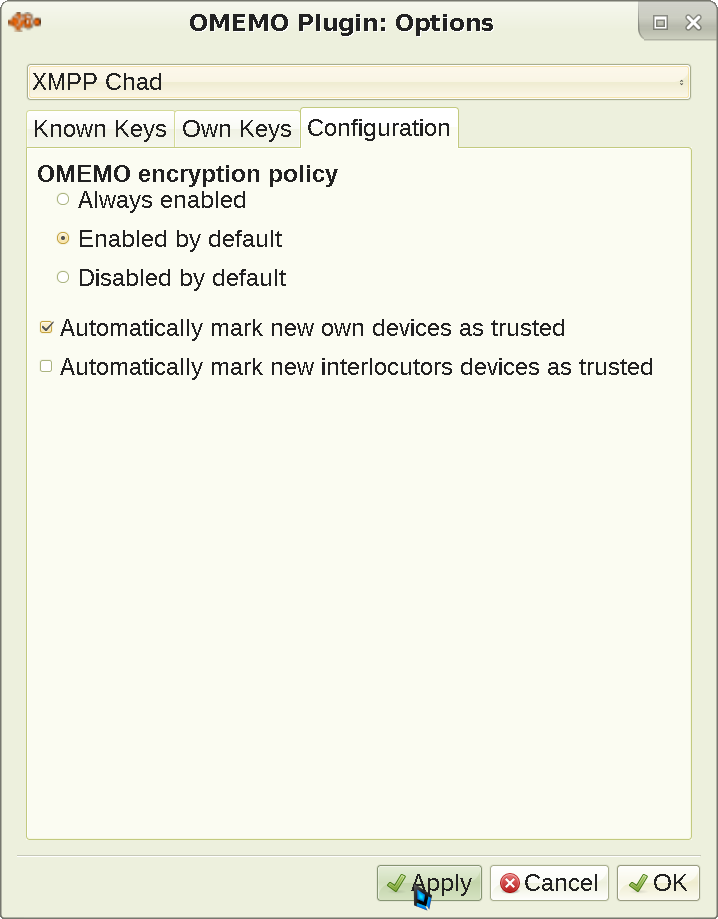
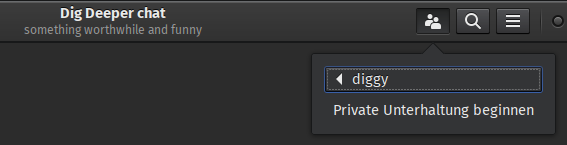
This will prevent sending unencrypted messages unless you explicitly choose to - but will still allow you to do so when talking with clients that don't support OMEMO. This is the sanest default possible. In some Psi+ versions, it might also be needed to move the OMEMO fish to the message window (Toolbars, then click OMEMO and press the right arrow) so that you get a notification of whether OMEMO is active, and are able to view and approve / deny your interlocutor's fingerprints. Now Apply and leave the menu, and let's finally try to message someone:
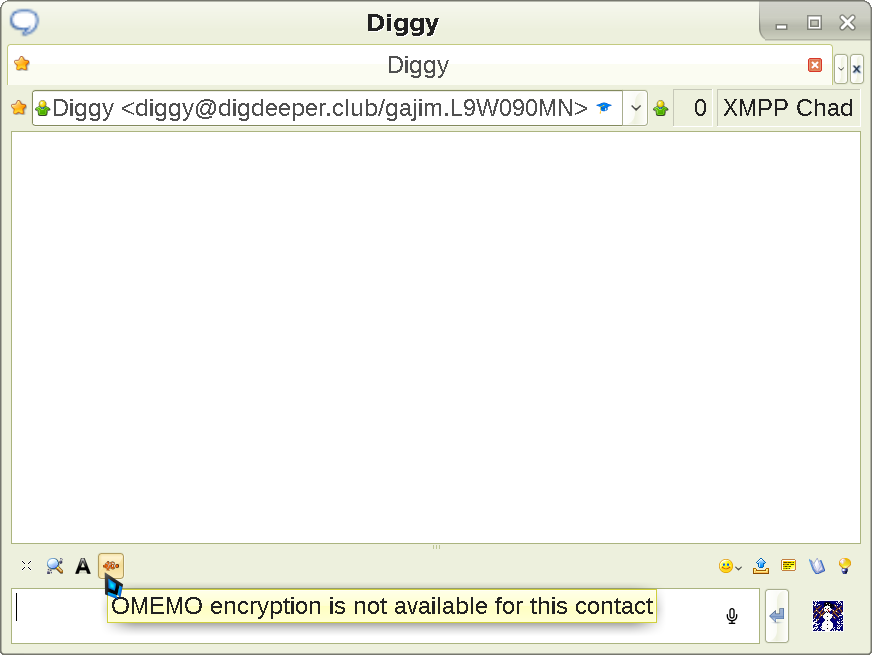
We see the OMEMO toggle is lit up, yet the prompt shows us that the OMEMO encryption is not available
. Here is what happens when we send a message in that case:
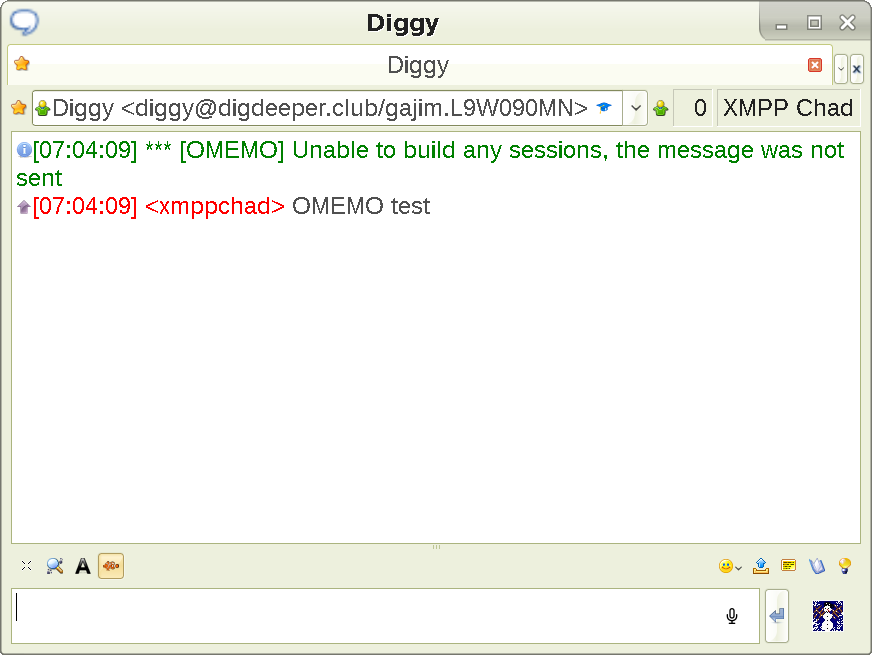
This message won't be received by your intended recipient. This is because they need to verify your fingerprint before the encrypted conversation can proceed. This is a security feature that's intended to prevent MitM attacks - If a client were to opportunistically start using sessions for sending without asking the user whether to trust a device first, an attacker could publish a fake device for this user, which would then receive copies of all messages sent by/to this user.
Ideally, everyone should be publishing their OMEMO fingerprints on a website or elsewhere, so that they could be compared to the one your XMPP client shows (I do that here). The reason it needs to be done out of band (as in, outside of the current communication channel, which in this case is the XMPP conversation) is that presumably the possible attacker does not control the other place, as well. The point is to have something trustworthy to verify the shown fingerprint against. Imagine if you tried to compare the fingerprint to a message sent through XMPP itself. If the attacker substituted a fake device, they could just as well insert a fake message (The fingerprint XX XX XX that has just appeared to you is totally real, bro
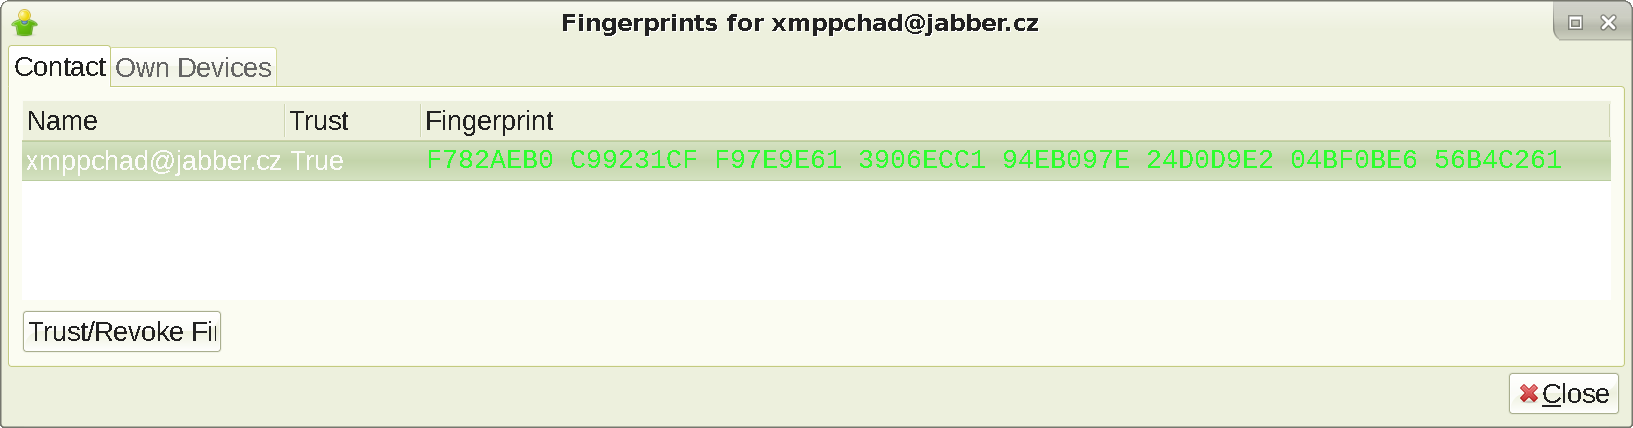
), and pretend the shown key is real. Of course - again - your recipient needs to have an outside channel for this to matter in the first place. Anyway, once your interlocutor verifies your fingerprint like this:
If you try to type an encrypted message again, this happens (re-logging might be necessary):
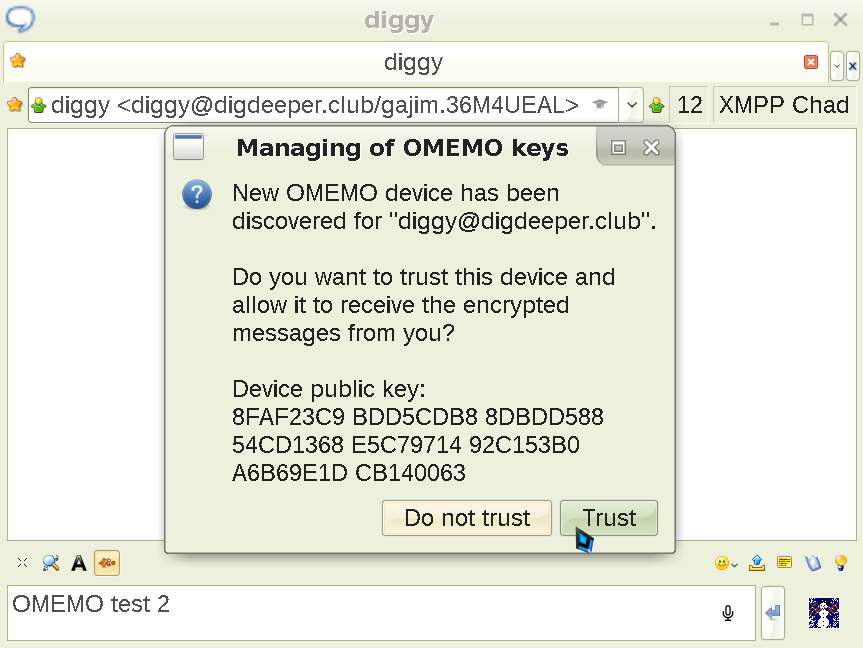
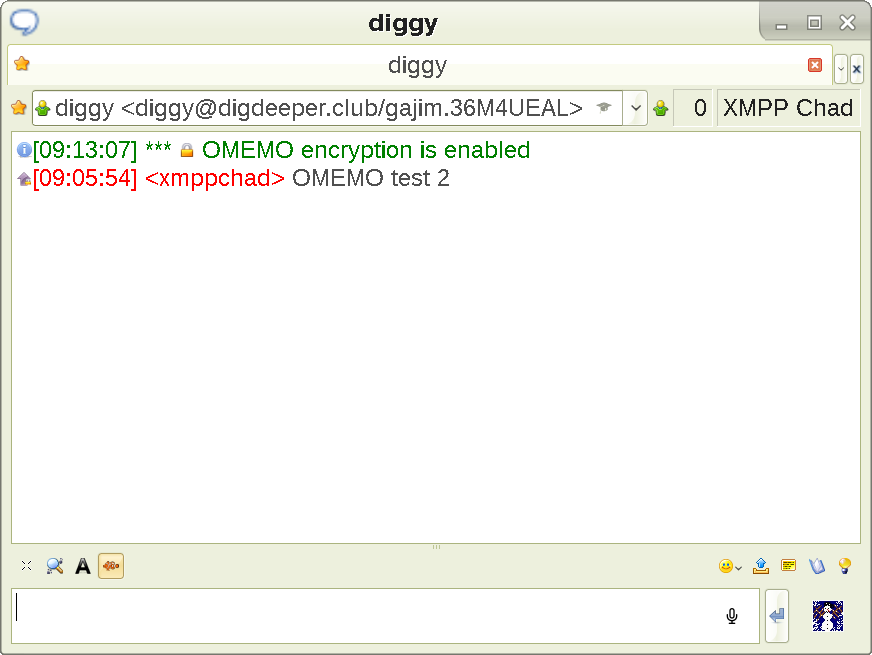
Before you trust the fingerprint, verify it's the same as the one shown on my site. Of course, if your recipient does not provide their authentic fingerprint anywhere else, you cannot do that and must accept (which is less secure, but still much more than sending messages without OMEMO; you'd need to be a victim of a targeted attack right at the point of the first key exchange for it to matter) or deny it blindly. Verifying the fingerprints out of band is a good habit to have if your OPSEC requirements are high, though. Okay, now the encrypted conversation can finally proceed:
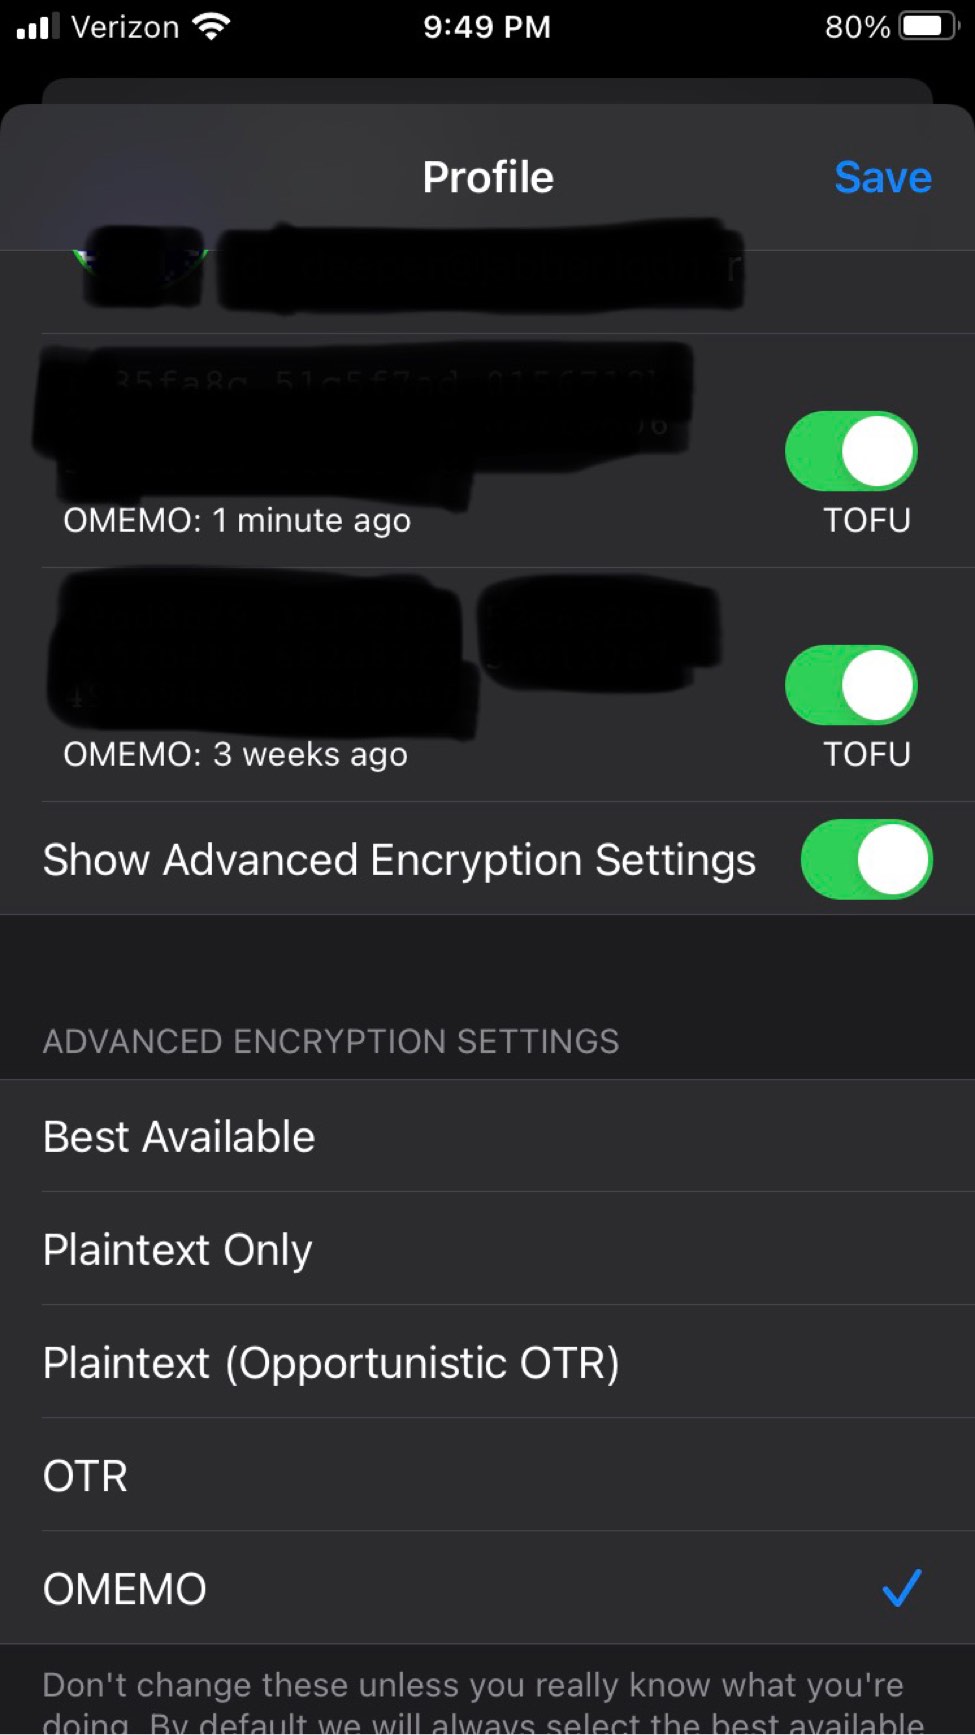
Now, remember the OMEMO plugin settings menu, and the Automatically mark new interlocutors devices as trusted
option? Well, in light of the above explanations, you should understand this option as simply skipping the fingerprint verification - and realize how insecure it is. That's why we keep it unchecked. Some clients do this by default, by the way - it's called TOFU (Trust On First Use), and again - it's not secure, allowing undetectable MitM.
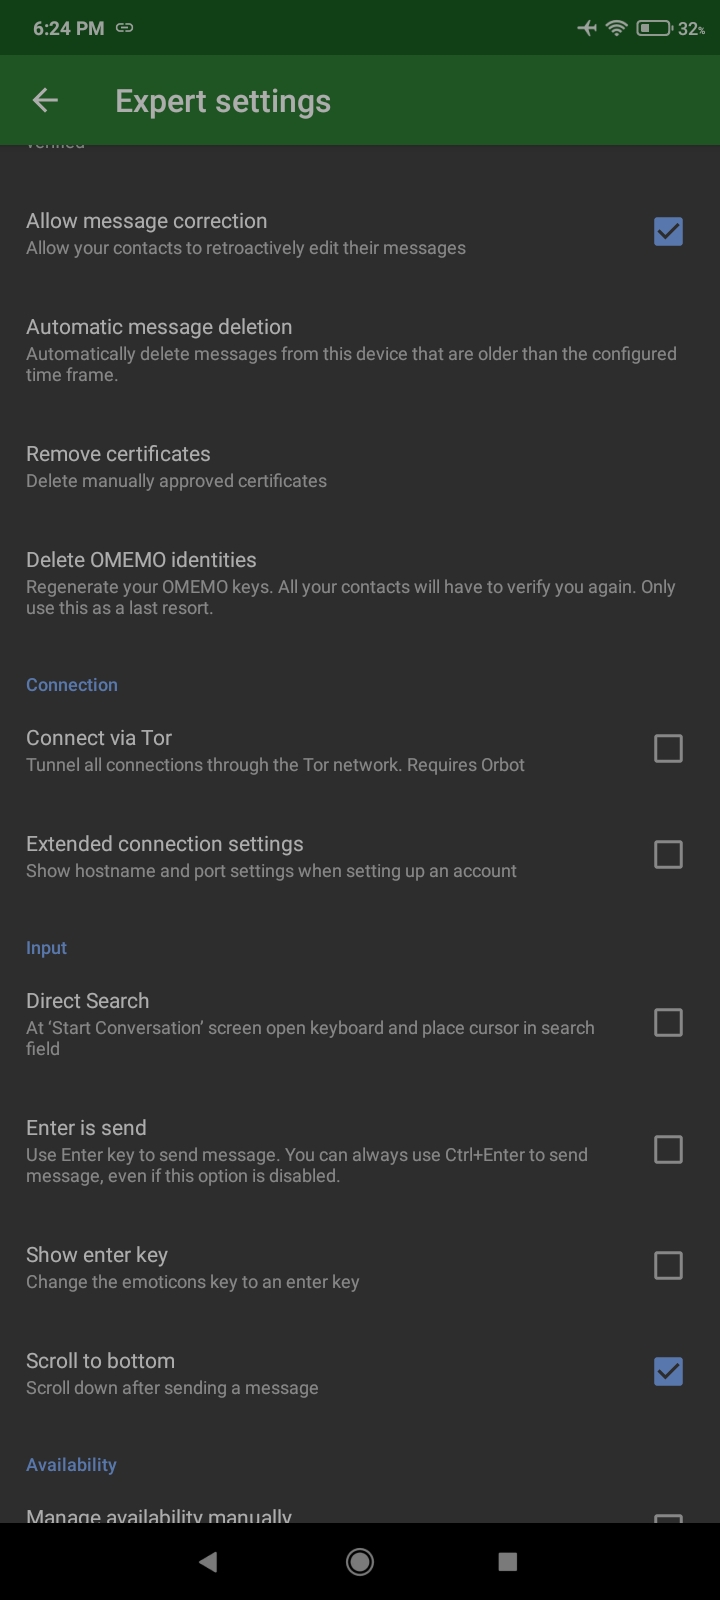
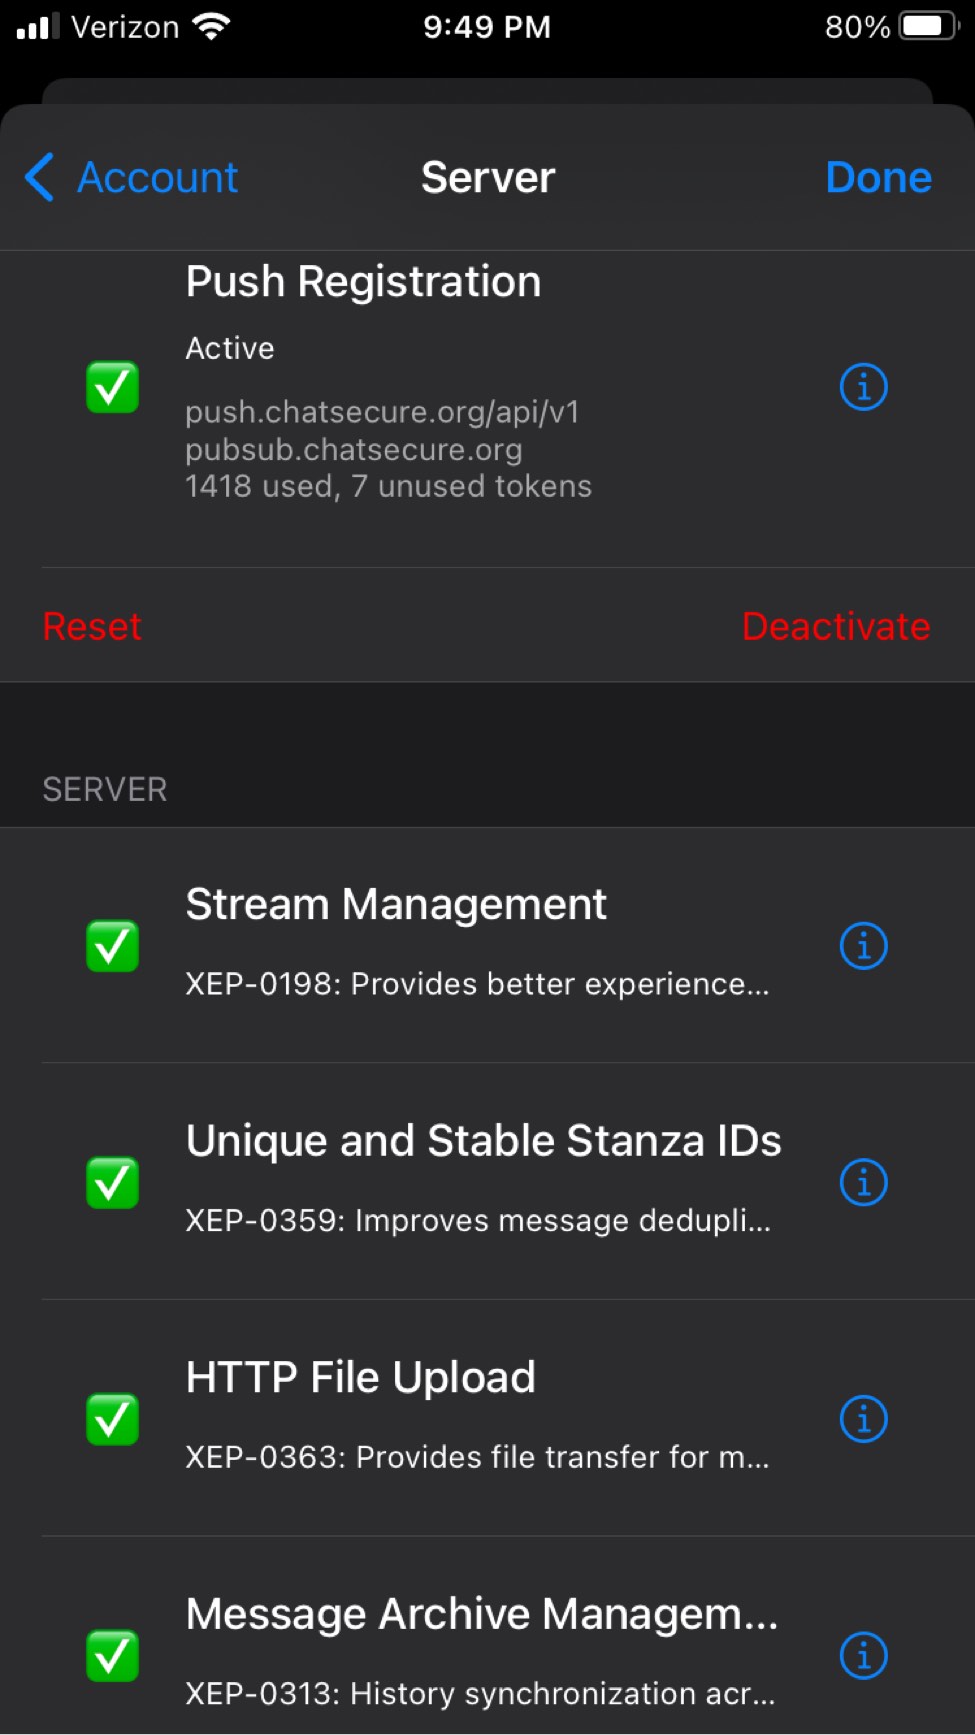
Privacy mitigations
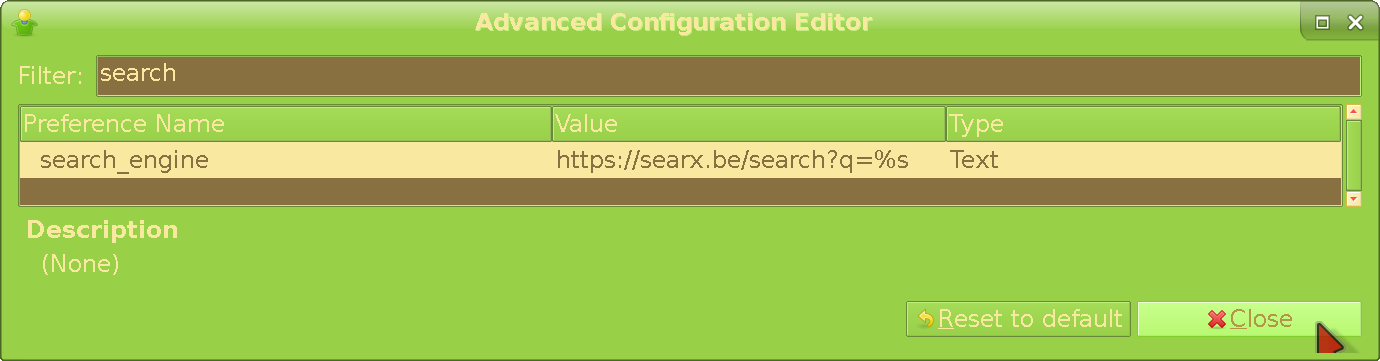
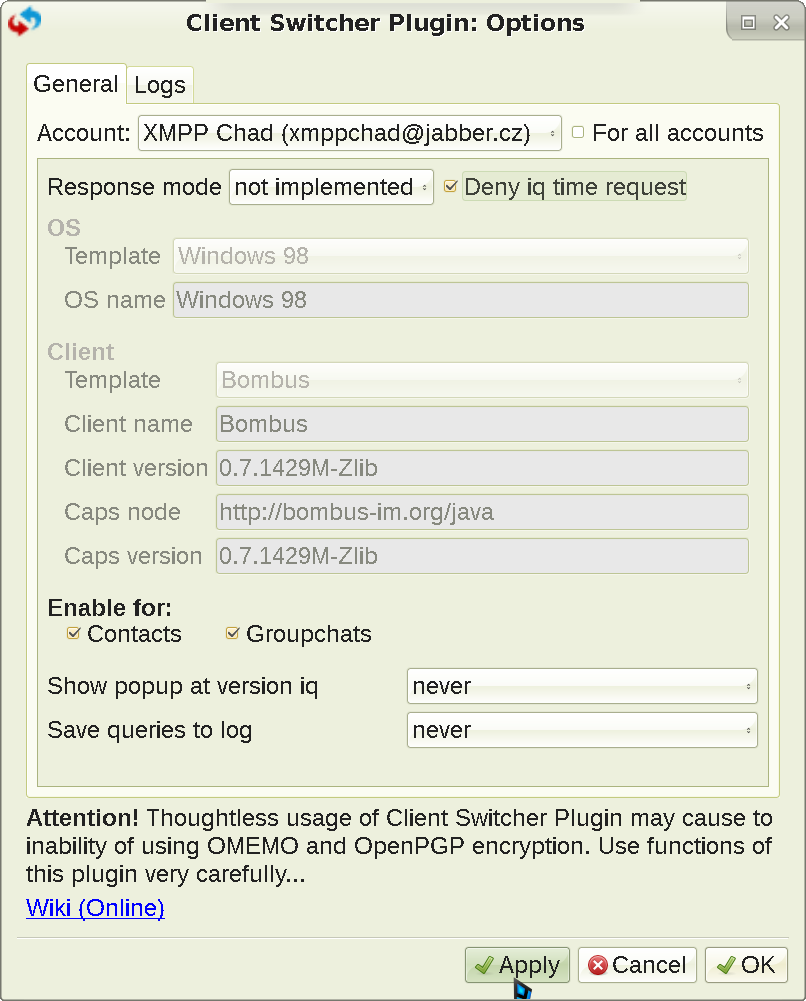
Psi+, by default, reveals your timezone, client (version and creation date), and system information (OS / Linux distro version + kernel version). The way to mitigate it is by using the plugin Client Switcher. Choose not implemented
as the Response mode
. Then mark Deny iq time request
(this disables the timezone leak). Finally, you need to Enable for
Contacts
and Groupchats
(self-explanatory). This will show Unknown for all categories when inspected. You can also falsify your client and system info - only Psi+ can do that (not shown in this example though).

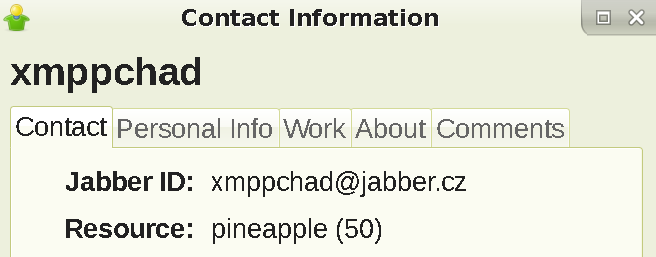
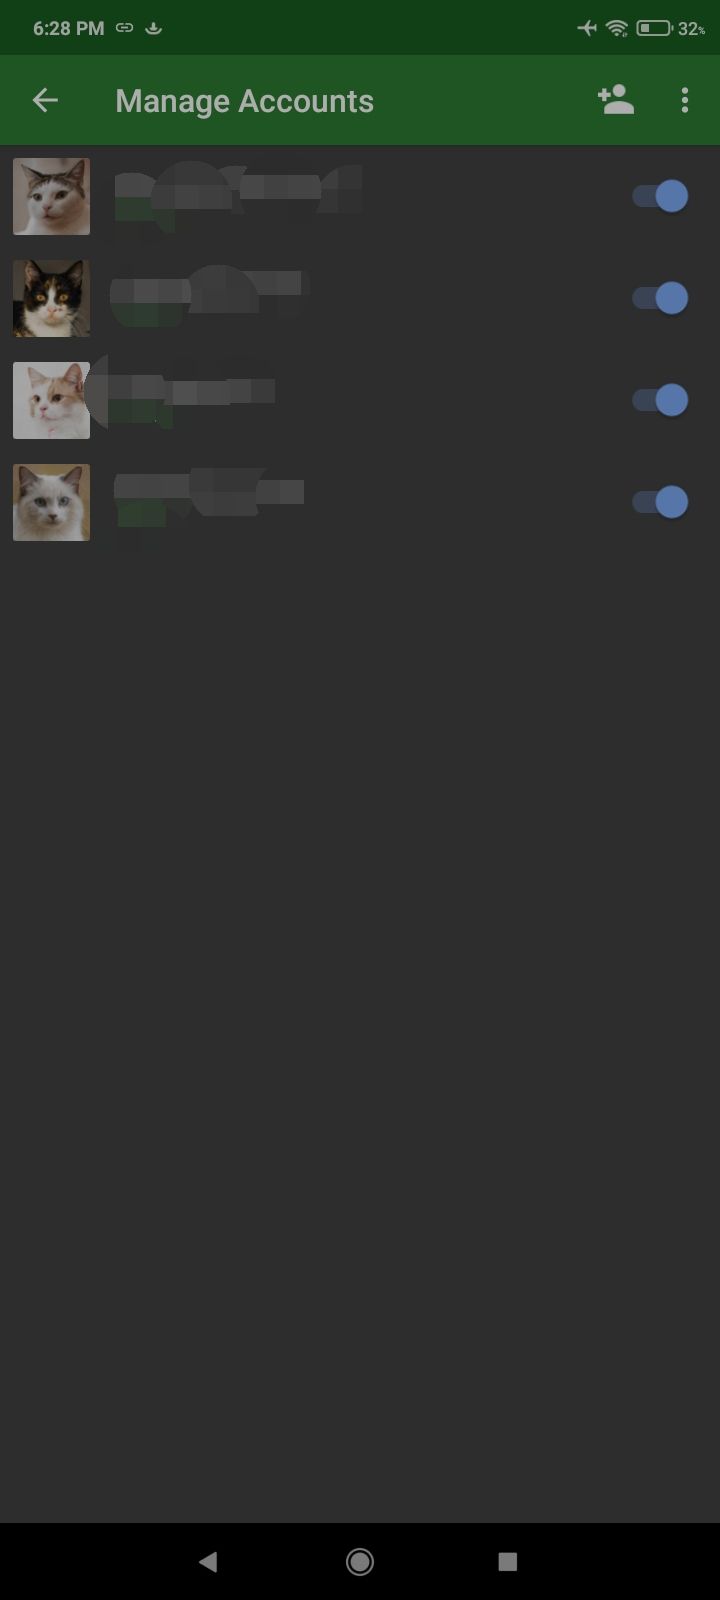
Every client still reveals a Resource header to group chat admins and all roster contacts, and in Psi+ that contains your hostname (what you see when you type hostname
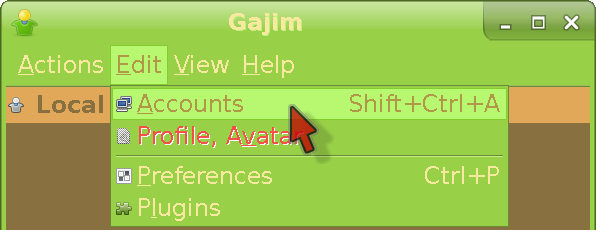
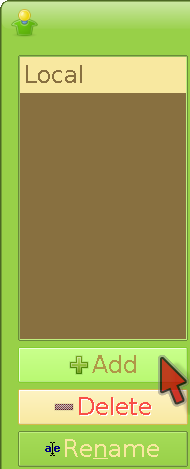
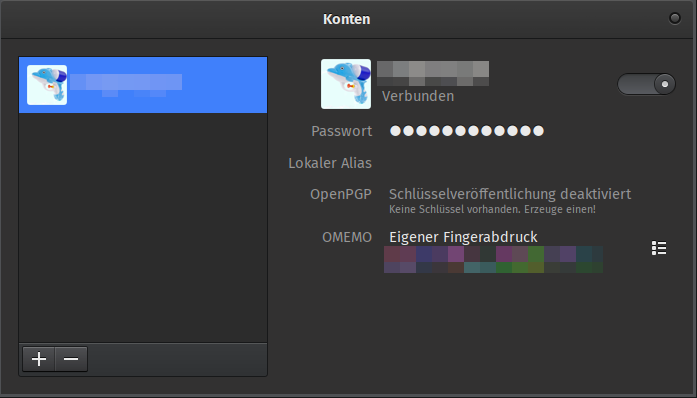
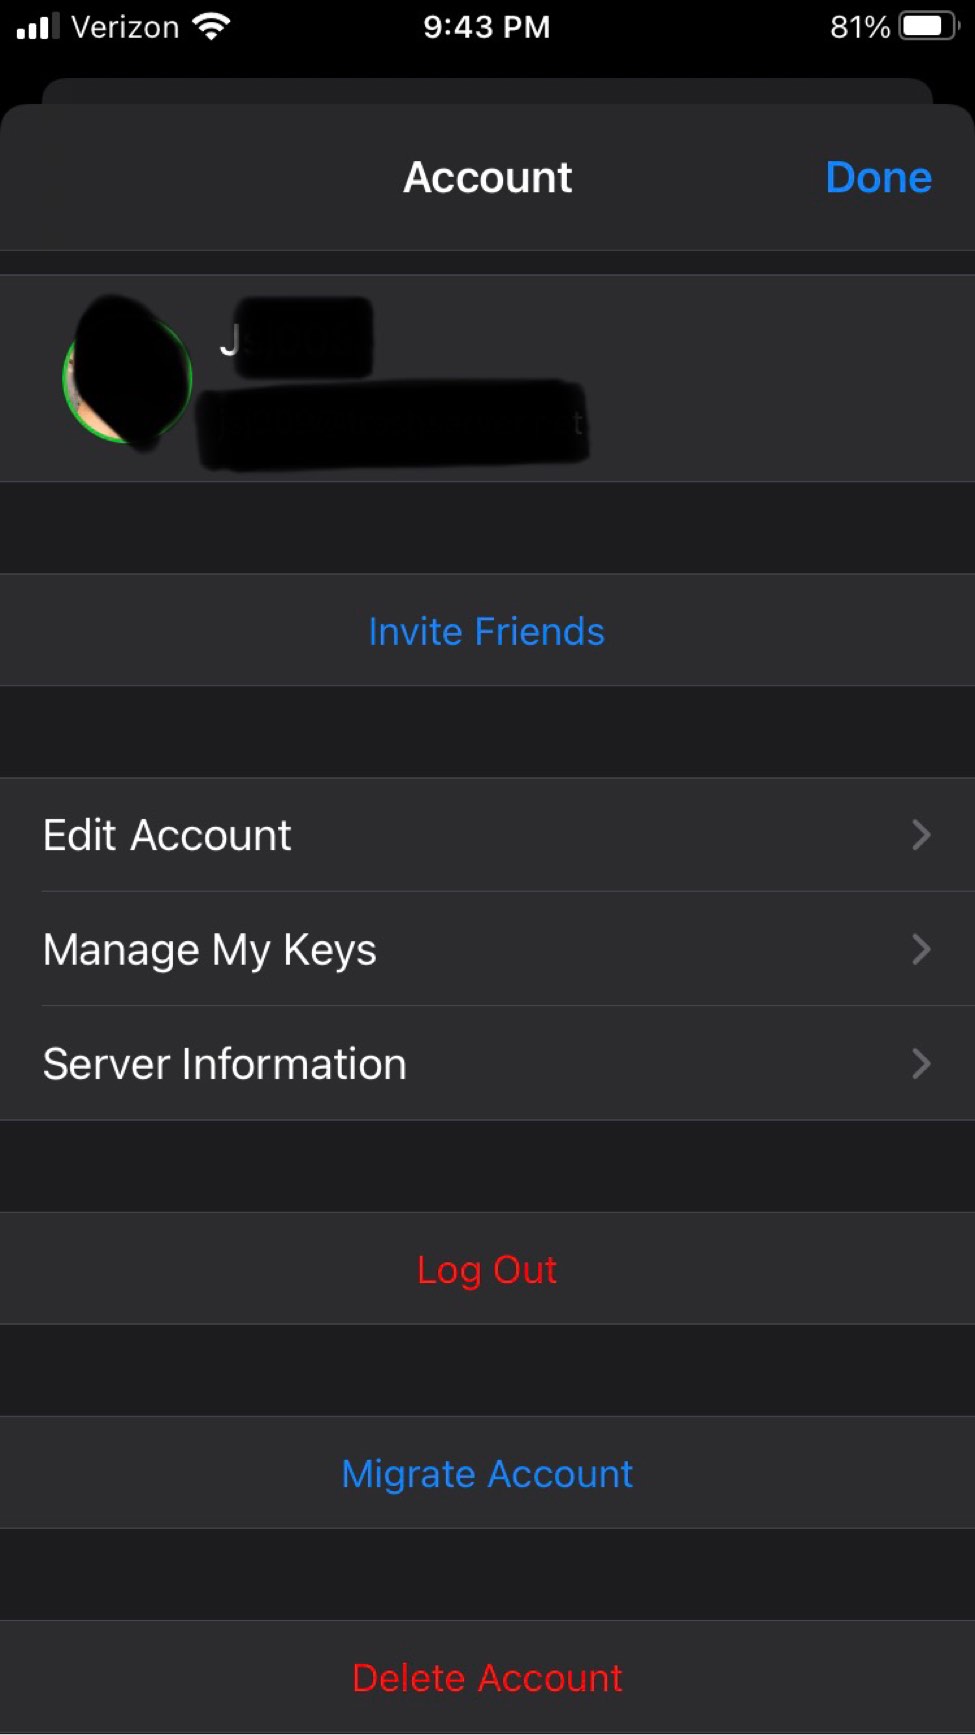
in the terminal) by default, which can be sensitive. To disable that, go to the accounts screen, and click Modify
:
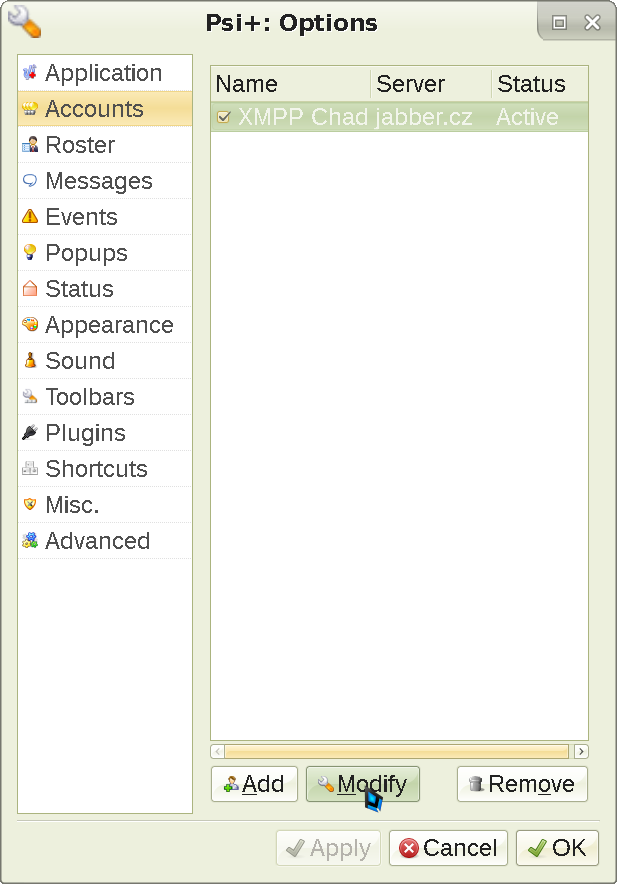
You can change it to whatever, but remember that Gajim and Psi+ are the only clients that are able to modify the resource header and not leak anything else, so your contacts will know you're using one of those two, either way. You can also pretend to be Dino by setting your Resource header in the format of dino.
+8 numbers and letters. E.g dino.cfg231e9
. Save after, and re-login.

Results in this when inspected by a contact or group chat member: